I found myself in the position recently whereby I had two hosts I bought off eBay (as one does for labs), they arrived, I had great plans… But no iDRAC Enterprise :(
While the iDRAC Ent cards were on their way to me I couldn’t help but want to install ESXi on these things so they were ready to go (old Dell R610s are seriously good value now). One slight problem. No iDRAC Ent means no virtual console, or virtual media. I don’t have any USB drives because I use cloud storage for that kind of thing and they had CD drives - what is this, the dark ages, does my mac look like it has room for a CD burner?
So in my impatience I wanted a solution and this is what I came up with; I’m bad for keeping old tech around incase they one day may come in handy again - and my old Samsung Galaxy Nexus fit the bill perfectly - so after an hour on the charger and years of updates being installed it was ready to rock.
In case you haven’t gathered by now the plan is to use the Android phone as a USB storage device to boot the servers off and install my ISO(s).
There are a few pre-requisites:
- Android Phone
- USB Data cable (yeah, got bitten by the “power only” USB cables)
- DriveDroid ↗
- Windows install with Rufus ↗ on it
I’m not going to nerd out too much, but Rufus is absolutely flawless, I have never used a program that makes bootable USBs so easily, without all that Floppy disk ROM faff.
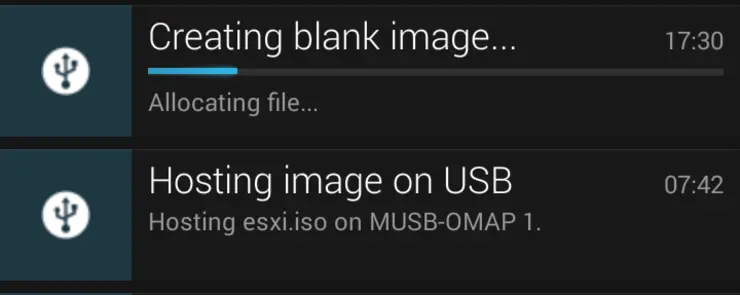
So, start your Android phone, install the DriveDroid app, click the + button and hit Create blank image... this will essentially create a blanked out space on the internal storage of the phone to which you can write an ISO image.

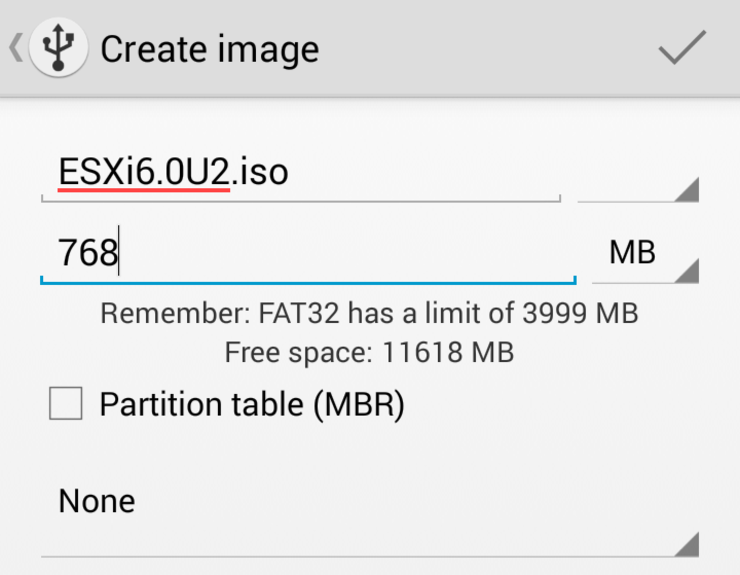
Next we will give it a name and a size - this is just for your own reference, as you can see mine is called ESXI6.0U2.iso and i’ve given it a size of 768MB which I know is larger than the ISO that will be extracted to it.
You can view image creation progress in the notification center.

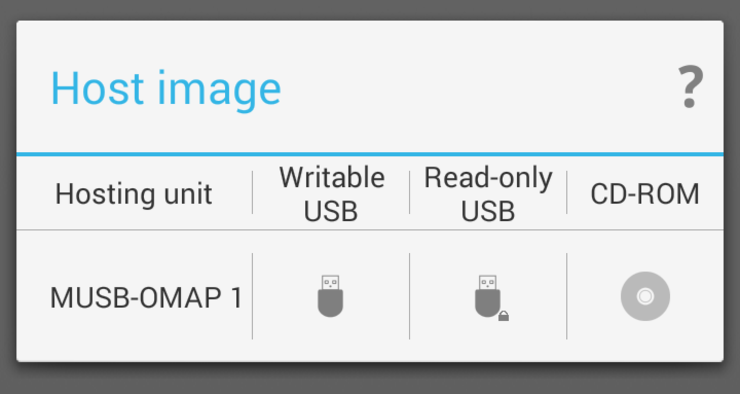
Next, we are going to click on the image we just created and choose Writable USB as the type, this will then mount the device, as a writable USB to your Mac/PC/VM.
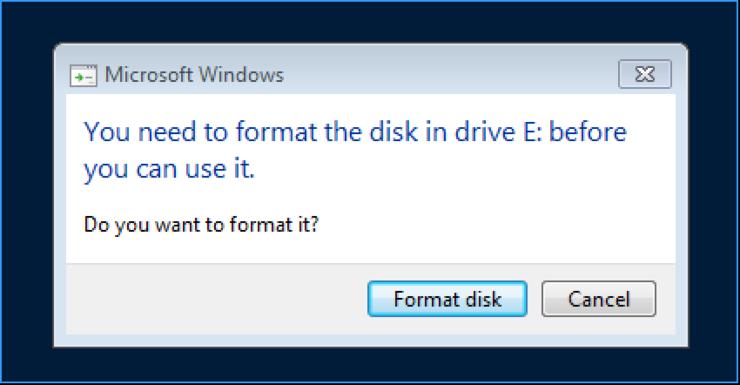
In my case, I run Windows as a VM, so I attached the USB device to the VM and it shows up as such. Just hit Cancel here as Rufus will do this for us.
Now we can run Rufus and it should detect the USB disk, ensure you pick the correct one then set up as below (be sure the Create a bootable disk option is using ISO Image), select the ISO for ESXi then hit Start.
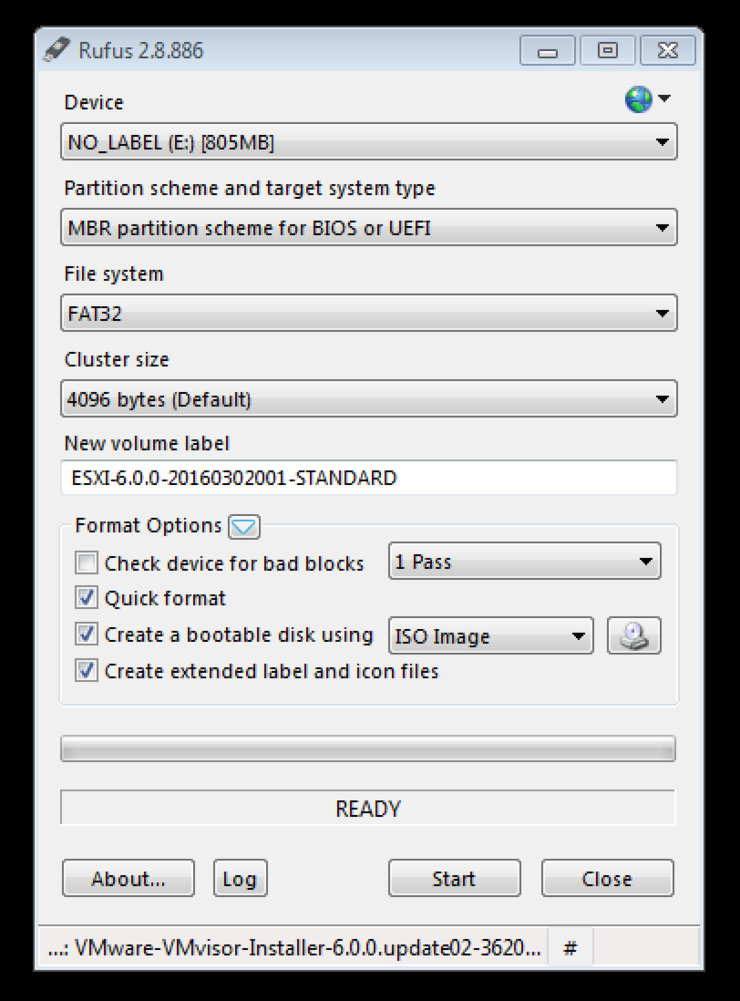
Yes, we want to wipe the device and the progress should begin.
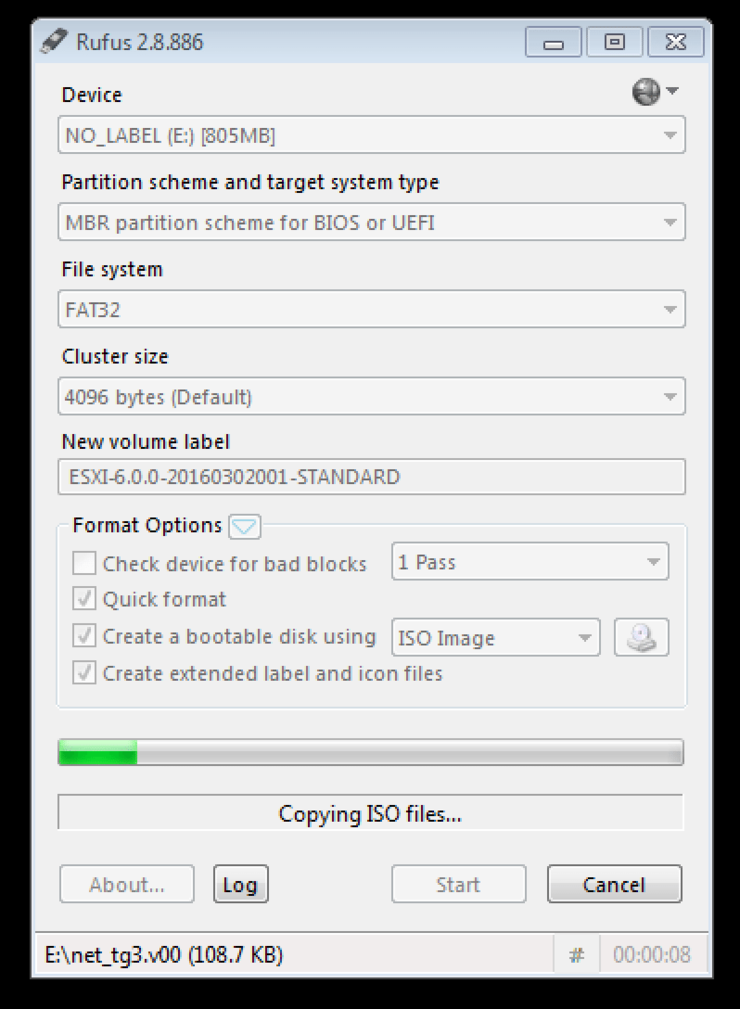
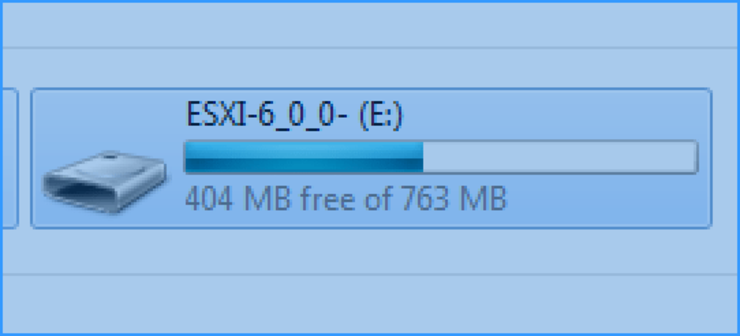
Once that is done we can close Rufus, and should see our ISO installer presented as a USB to the host operating system again - now we’re ready to roll.
Boot the server/desktop into BIOS, ensure that USB emulation mode is Hard Drive, reboot into BIOS Boot Manager and choose the USB device as the boot drive - It should boot right into ESXi’s installer.
Given how easy it was to create images and how easy it is to switch between them with DriveDroid i’m going to put a new more standard ISOs on there, Windows 10, Ubuntu and the like.
Why not follow @mylesagray on Twitter ↗ for more like this!