Introduction
I have been deploying a VDI solution recently based on the fantastic VMWare Horizon Suite ↗, one of the important points of deploying the Horizon View ↗ component of this is making it highly available and accessible from the outside for on-the-road users.
The best way I have found to load-balance incoming connections (both internally and externally) is to set up a linux VM and run NginX ↗, which is a reverse caching proxy - it allows us to terminate the SSL connections and load-balance across our backend View Security Servers in a DMZ.
You could buy a hardware or VM load balancer from F5, Citrix, Barracuda but that will run into the £1,000’s if not £10,000’s. For our case, using NginX is more than adequate - please note some people use HAProxy, I don’t recommend this as it does not have native SSL (so HTTPS) support until v1.5 which is yet to be released.
Why is this important? It means you can use one address e.g: view.company.com to act as a proxy for all the backend security and/or connection servers for your users, one address is simpler to use and remember, for you, it streamlines configuration.
Implementation
Architecture
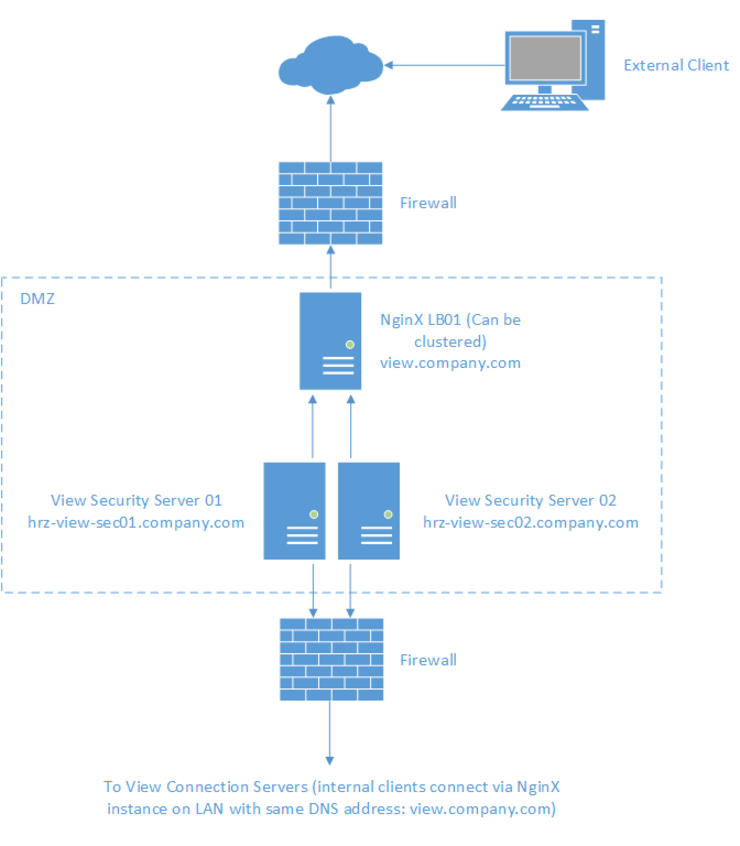
So to get down to it, here’s a rough topology of what your config would look like:
Ubuntu Server
I assume you have your linux VM installed (say Ubuntu), static IP assigned and DNS setup point view.company.com to this address.
Firstly we need to install NginX:
aptitude update && aptitude install nginx
SSL Certs
Next as VMWare View’s servers require SSL we need to have an SSL cert signed by your CA for this VM for the address view.company.com:
mkdir /ssl && cd /ssl
openssl genrsa -out view.company.com.key 2048
openssl req -new -key view.company.com.key -out view.company.com.csr
Have your CA (whether AD internal or external CA) sign the cert, retrieve the request by doing this:
cat /ssl/view.company.com.csr
The output is your Certificate Signing Request.
If you are using an internal Microsoft CA you can have it signed by the web GUI:
- Go to:
https://[your.internal.ca.address]/CertSrv/default.asp - Click “Download a CA Certificate, Certificate Chain, or CRL”
- Click “Base64 encoded”
- Click “Download CA Certificate”
- Go back to:
https://[your.internal.ca.address]/CertSrv/default.asp - Click “Request a certificate”
- Click “advanced certificate request”
- Paste in request and change template to
web server - Click “Submit”
- Download certificate (Base64 encoded) not the chain
Open both files with a text editor like Sublime Text 3 ↗ and order them in a new file like so:
-----BEGIN CERTIFICATE-----
Server Certificate
-----END CERTIFICATE-----
-----BEGIN CERTIFICATE-----
CA Root Certificate
-----END CERTIFICATE-----
Save it as a new file view.company.com.crt and transfer it to the /ssl folder on your NginX server.
NginX Config
Edit the /etc/nginx/nginx.conf file and add the following to the http { section: remember to change the upstream addresses to match your View Security Servers addresses!
# enable reverse proxy
proxy_redirect              off;
proxy_set_header            Host            $http_host;
proxy_set_header            X-Real-IP       $remote_addr;
proxy_set_header            X-Forwared-For  $proxy_add_x_forwarded_for;
client_max_body_size        10m;
client_body_buffer_size     128k;
client_header_buffer_size   64k;
proxy_connect_timeout       90;
proxy_send_timeout          90;
proxy_read_timeout          90;
proxy_buffer_size           16k;
proxy_buffers               32  16k;
proxy_busy_buffers_size     64k;

upstream hrz-view-cluster {
    server hrz-view-sec01.company.com:443 fail_timeout=1s max_fails=1;
    server hrz-view-sec02.company.com:443 backup;
}
You can of course add more upstream servers by simply adding them to the upstream section - you will also notice we are running in active-backup, this is important to preserve sessions otherwise logins don’t work as the requests get split across the two servers.
You can use the ip_hash module ↗ to encourage session persistence and split the load evenly (more like proper active load balancing than the failover scenario above) - however this module has a few drawbacks listed in an article here ↗:
Collisions as it only uses the 3 first numbers of the IP for the hash. That means that all the ips of the same C-class network range will go to the same backend server.
All users behind a NAT will access to the same backend server.
If you add new backends, all the hashes will change and sessions will be lost.
Please note: ip_hash does now support IPv6.
upstream hrz-view-cluster {
    ip_hash;
    server hrz-view-sec01.company.com:443;
    server hrz-view-sec02.company.com:443;
}
The final thing we need to do is set up our NginX server block for the “site” by editing /etc/nginx/sites-enabled/default, empty its contents and add the following: (Change the view.company.com instances to your own address)
#redirect all http to https
server {
        listen 80 default;
        server_name view.company.com;
        rewrite ^ https://view.company.com permanent;
}

server {
    listen 443 ssl;
    server_name view.company.com;
    ssl on;
    ssl_certificate /ssl/view.company.com.crt;
    ssl_certificate_key /ssl/view.company.com.key;

    location / {
        proxy_pass https://hrz-view-cluster;
    }
}
Save file, and restart NginX:
service nginx restart
Testing
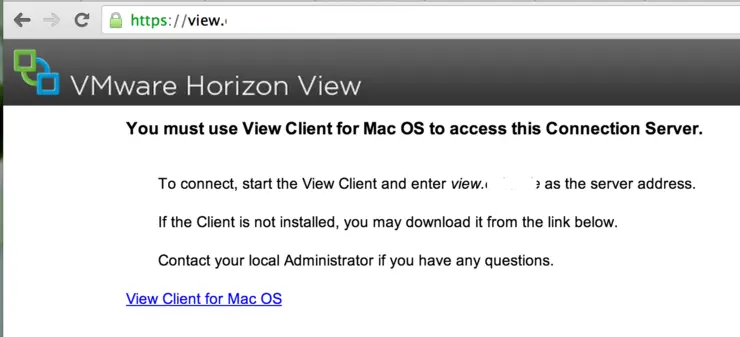
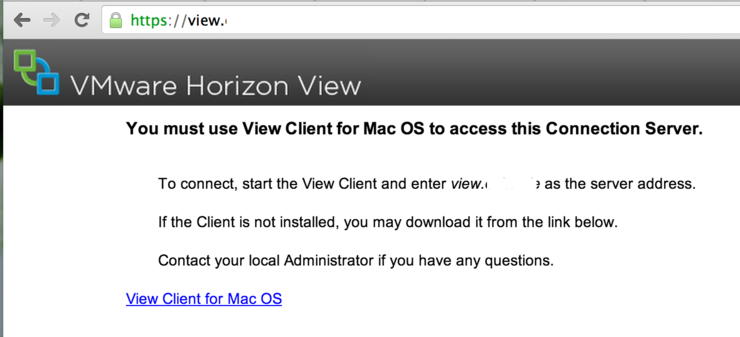
Test your http redirect by going to http://view.company.com in your browser, you should be redirected to: https://view.company.com and see something similar to this:
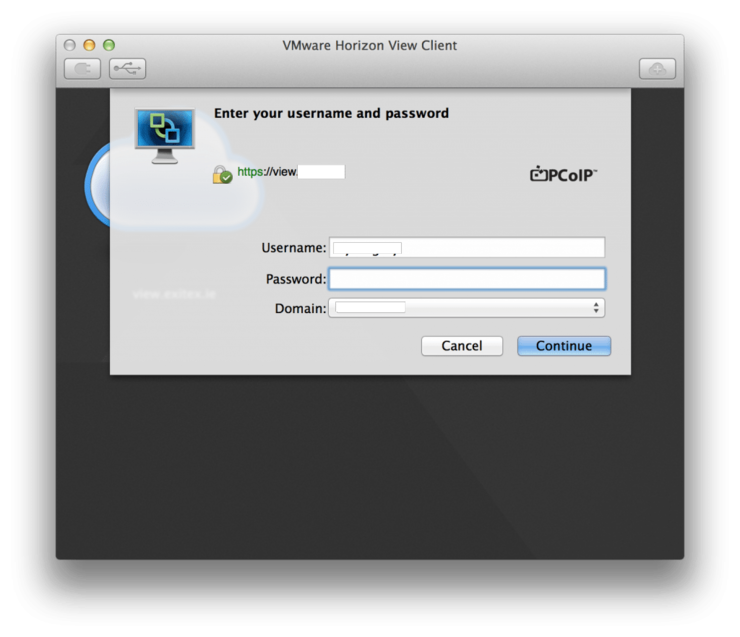
And you’re done! You can now use this address in your VMWare View Client to connect to your remote desktops:
Why not follow @mylesagray on Twitter ↗ for more like this!